
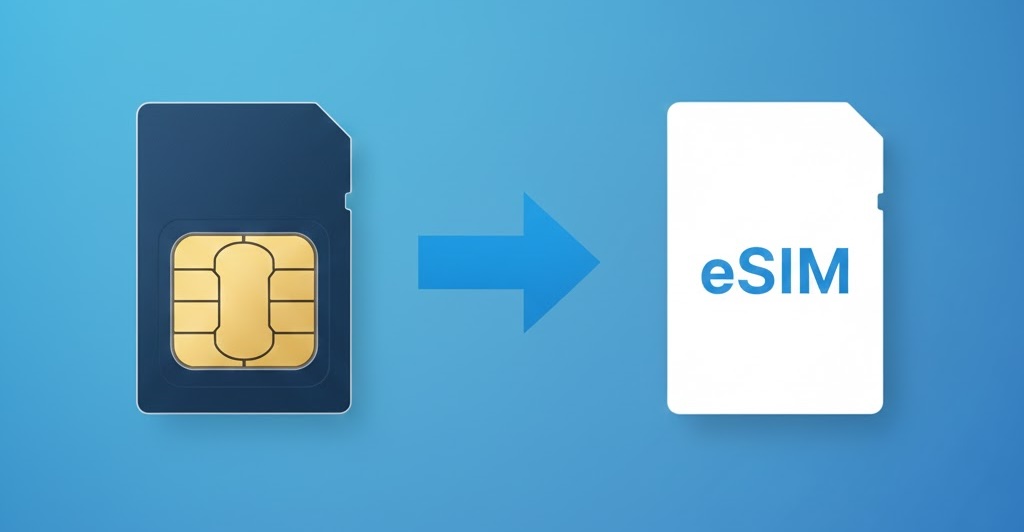
How to Convert a Physical SIM to an eSIM on iPhone
A lot of people don’t realize this: if your iPhone currently uses a physical SIM card, you may be able to convert it to an eSIM in just a few minutes - all without changing your phone number.
That’s helpful if you’re planning to travel, you want to run dual SIM (work + personal), you’re switching carriers soon, or you just want fewer tiny parts to worry about.
Below is a practical guide to converting your SIM, plus the real-world benefits of physical SIM vs eSIM so you can decide what’s right for you.
Physical SIM vs eSIM: benefits of each
Benefits of a physical SIM
- Easy device swap: If you move phones often, popping your SIM into another device can be straightforward (depending on carrier and phone compatibility - usually this is easiest if you're moving into an unlocked phone).
- Works without carrier eSIM support: Some smaller carriers and older plans still rely on physical SIMs.
- Simple troubleshooting: If you’re diagnosing a cellular issue, swapping a SIM can be a quick test.
Benefits of an eSIM
- No SIM tray required (and no SIM to lose): Your plan is stored digitally on the phone.
- Great for travel: You can add a second plan (like a travel eSIM) without removing your main SIM.
- Dual SIM flexibility: Many iPhones can run multiple cellular lines (typically one active for data at a time), which is useful for work/personal setups.
- Cleaner upgrades: Some carriers support quick digital transfers to a new iPhone. This can all happen when you're transferring your data from one iPhone to another.
Before you start: quick checklist
- Confirm your carrier supports conversion to eSIM. If you don’t see the conversion option in Settings, it often means your carrier doesn’t support that workflow on your plan.
- Update iOS (recommended). Newer iOS versions tend to have smoother activation flows.
- Be on Wi-Fi during the conversion so the activation can complete reliably.
- Know your Apple ID / passcode (you may be prompted to authenticate during setup).
Option A: Convert your physical SIM to an eSIM (on the same iPhone)
If your carrier supports it, iOS may let you convert directly:
- Open Settings
- Tap Cellular (or Mobile Data)
- Tap Set Up Cellular or Add eSIM
- Choose the phone number that currently uses the physical SIM
- Tap Convert to eSIM
- Follow the on-screen prompts to finish activation
When the conversion completes, your iPhone will deactivate the physical SIM line and activate the eSIM version of that same line.
After the plan is active on eSIM, remove the physical SIM from the tray (or at least keep it somewhere safe) so you don’t confuse yourself later when troubleshooting.
Option B: If you don’t see “Convert to eSIM”
No worries. There are still common carrier-supported ways to activate an eSIM:
Carrier activation (digital install)
Some carriers push the eSIM to your iPhone digitally. You’ll usually see a prompt like “Carrier Cellular Plan Ready to Be Installed.” Tap it and follow the instructions until the plan activates.
QR code or carrier app
Other carriers provide a QR code (or an activation code) you scan during setup:
- Go to Settings → Cellular → Add eSIM
- Choose the option to Use QR Code (or similar)
- Scan the QR code provided by your carrier
- Follow prompts until the plan becomes active
If you’re stuck, your carrier can typically re-issue the QR code or help you complete activation.
After conversion: useful things to check
- Make a test call and send a text message (specifically a text message rather than an iMessage, since iMessages can still go through on Wi-Fi).
- In Settings → Cellular, rename your line (e.g., “Personal” / “Work”) so it’s easy to recognize.
- If you use two lines, set your defaults for Voice, Messages, and Cellular Data so the phone behaves the way you expect.
Once it’s done, you’ll have the same number—just on a digital SIM—making it easier to add secondary lines or travel plans without juggling tiny SIM cards.